Generate Test Data for Table
Generate Test Data for Table
You will define and run a Test Data Generator extract in this tutorial.
- Make sure you are at the pfDataExtractor Main Form (Overview),
- Click File/Open menu item and open the following extractor definition:
C:\Users\YourUsername\Documents\PFApps\pfDataExtractor\Definitions\Samples\ SQLCE_to_SQLCE_SampleExtractUSA.exdef
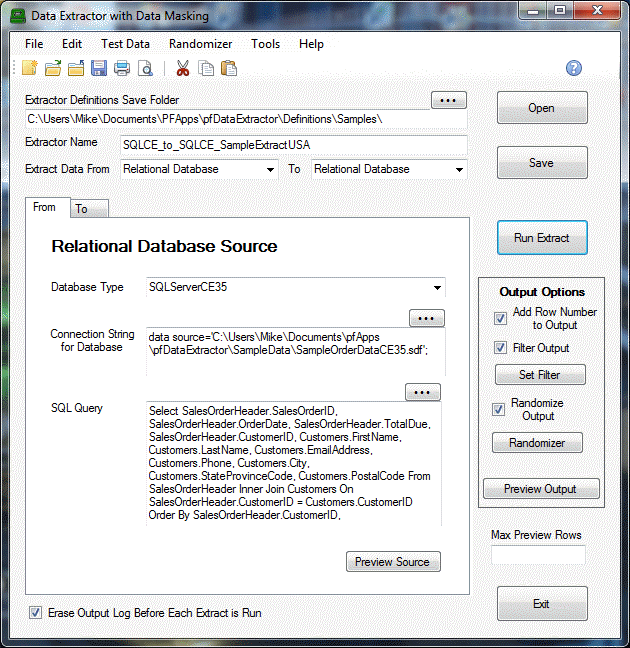
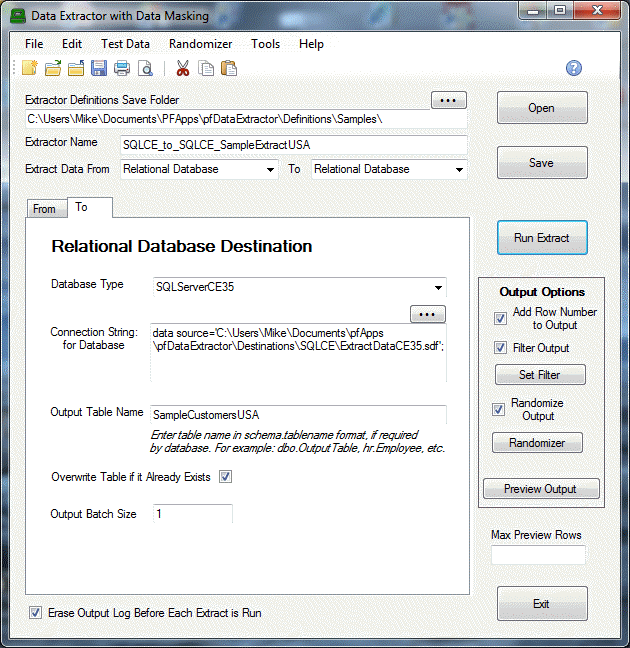
- You should see a form that looks like the following:
Source

Destination

- Set Add Row Number to Output = False (Unchecked).
- Click Test Data/Generate Test Data menu item.
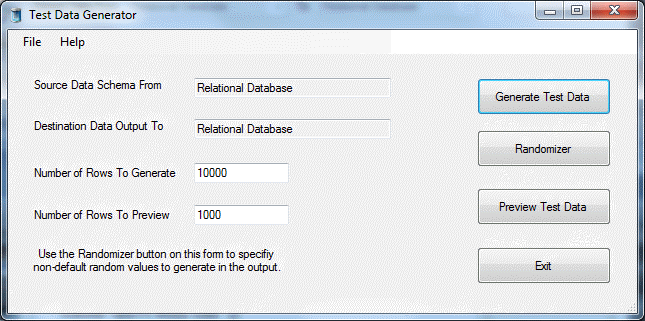
- You should see a form that looks like the following:

- Click the Randomizer Button.
- Change the values on the Randomizer Column Mapper Form to

- Click Preview Test Data Button.
- You should now see a Data Output Grid with the generated test data.

- Click Generate Test Data Button.
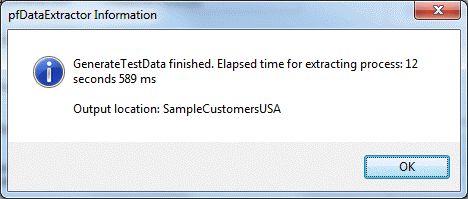
- You should see the following message when the extract has been successfully generated:

- Click Exit Button to return to Main Form.
- Click Save Button.
- You will see a message listing where the extractor definition file is located.
- To view the data in the extract output database:
- Click File/New to erase the Main Form.
- Set the following values:
Database Type = SQLServerCE35
Connection String for Database =
data source='C:\Users\YourUsername\Documents\pfApps\pfDataExtractor\Destinations\SQLCE\ExtractDataCE35.sdf';
SQL Query = Select * from SampleCustomersUSA
NOTE: You should copy and paste the above connection string and SQL query values into the appropriate fields on the Main Form.
WARNING: Make sure you change YourUsername in the connection string to the username you used when logging on.
- Click the Preview Source Button.
- You should now see a Data Output Grid with the generated test data.
- Notice that there are 10,000 rows in the table.
- Click Exit on the Data Output Grid
- Click Exit to terminate the application.
- Click No at the prompt to save changes.