Creating Extract with Data Filtering
Creating Extract with Data Filtering
You will use the data extract definition you created in Getting Started with Data Extractor to step through the process for building filters on the output data.
For more detailed information on Filtering, see Filter Definition FormFilter Builder Form.
- Make sure the following extract definition has been created by the Getting Started with Data Extractor tutorial.
C:\Users\YourUsername\Documents\PFApps\pfDataExtractor\Definitions \FirstExtractorDefinition.exdef
- Main sure you are at the Main Form for Data Extractor with Data Masking application.
- Click File/Open menu item to bring up the Windows File Open Dialog.
- Select FirstExtractorDefinition.exdef.
- Click Open button.
- Set Filter Output = True (Checked).
- Click the Set Filter button.
- The Filter Definition Form will be shown.
- Click the Filter Builder button.
- You will be shown the Filter Builder Form.
- Click Define New Item button (Plus sign button).
- Filter No. field at bottom left of form with change to 1.
- Set the following values:
- Boolean = Blank
- Aggregator = Blank
- Field Name = LastName
- Data Type = System.String (automatically filled in when Field Name selected)
- Comparison = StartsWith
- Compare To = S
- Click the Update Button.
- Form should now look like the following:
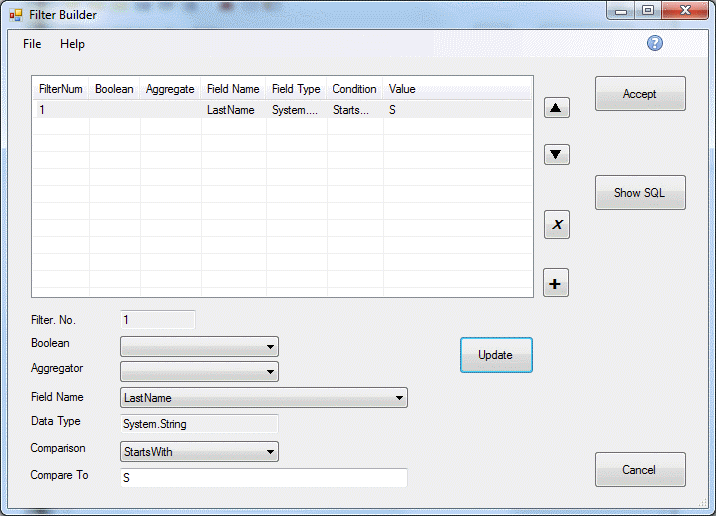
- Click Define New Item button (Plus sign button).
- Filter No. field at bottom left of form with change to 2.
- Set the following values:
- Boolean = Or
- Aggregator = Blank
- Field Name = LastName
- Data Type = System.String (automatically filled in when Field Name selected)
- Comparison = StartsWith
- Compare To = M
- Click the Update Button.
- Form should now look like the following:
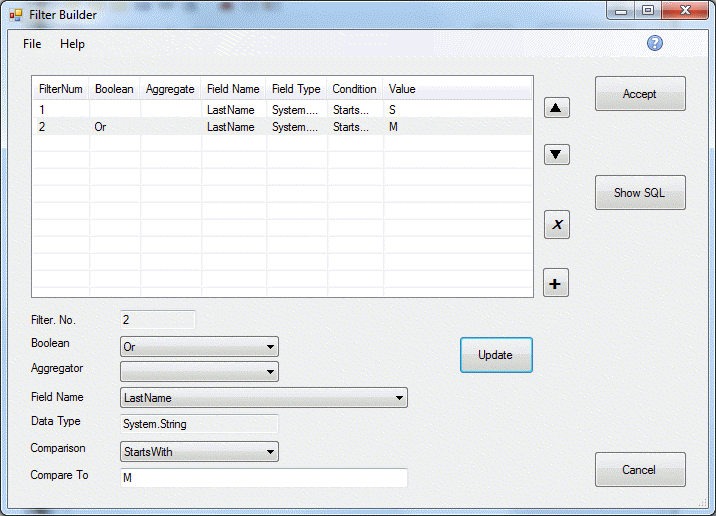
- Click the Show SQL Button.
- You should see a popup message that looks like this:
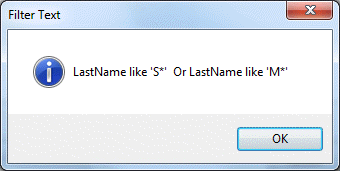
- Click the Accept Button.
- Filter Definition Form should look like this:
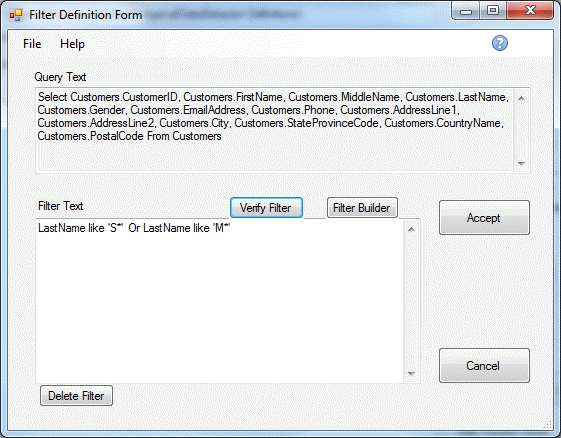
- Click the Verify Filter Button.
- You will see a popup message saying that the Filter text was verified as valid.
- Click the Accept Button.
- You will be returned to the Main Form.
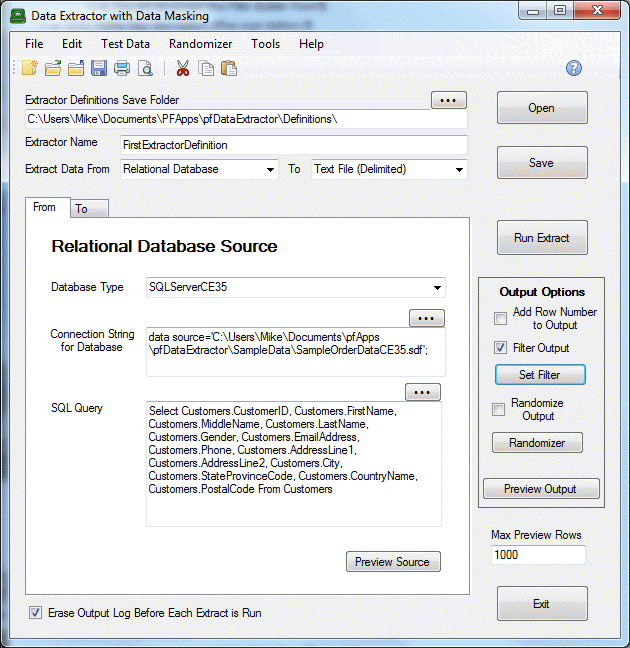
- Click the Save Button.
- You will see a prompt with the path to the saved file.
- Set Max Preview Rows = 1000
- Click Preview Output Button.
- You should see a Data Output Grid with fewer than 1000 rows displayed.
- Only those records where LastName starts with S or M will be shown. (approx. 575 rows)
- Click Exit on the Data Output Grid to return to the Main Form.
- Set Filter Output to False (Unchecked).
- Click Preview Output Button.
- You should see a Data Output Grid with 1000 rows displayed.
- All rows, regardless of how the LastName starts, will be shown.
- Click Exit on the Data Output Grid to return to the Main Form.
- Click File/Close menu item.
- You will be shown a prompt asking if you want to save unsaved changes to the definition.
- Click No.
- All form fields will be erased and you can either start a new extract definition or exit from the application by clicking File/Exit menu item.